
Before you begin:
Please Note: These Instructions only apply to Apple Computers. For WYSE Box or windows based computers please locate the corresponding help desk article by clicking HERE.
Step 1: Open Self Service Application on your Computer
Open Self Service by clicking on this icon locating on your dock, or in the launchpad ![]()
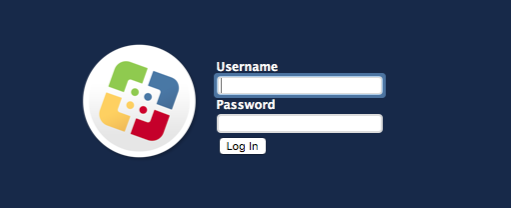
Step 2: Log in using your District Credentials
Enter your district credentials in the box (shown below) to log in.
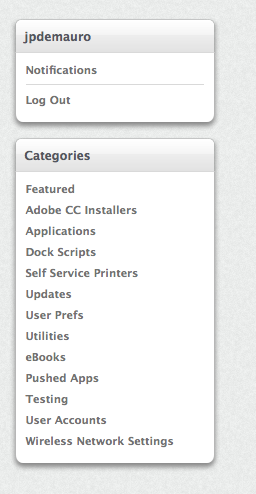
Step 3: Locating Self Service Printers Category
On the right hand side in the Categories List (shown below) Locate "Self Service Printers" and Click on it to open.
Please Note: if your screen is not fullscreen it is possible you may not see the categories area unless you make the window full screen.
Step 4: Find your Printer
Once Self Service Printers Locate the Printer you want to install and click install:
Please Note: You will only see the printers for the building you are currently in. If you do not see the printers of the school you are in, please reboot your computer and try again. The reboot will reset your computers location and should provide you with the proper printers.

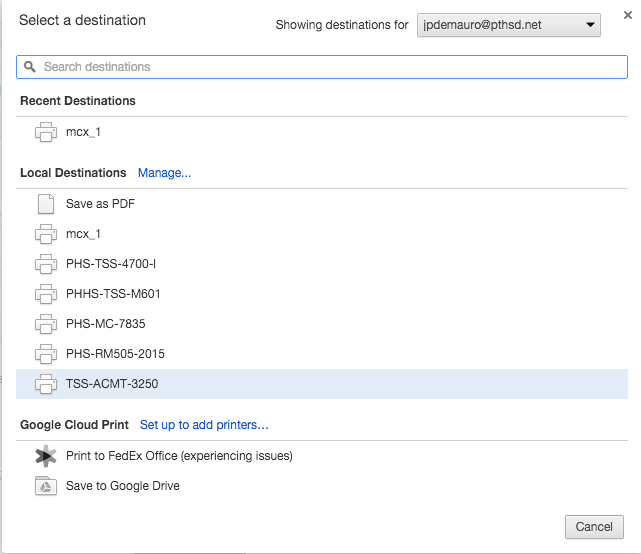
Step 5: Finishing up
Once the printer completes installation after about 30-45 seconds you then be able to locate the printer as an available printer when printing.
If you are still having Issues changing your password, please contact the TSS Help Desk by dialing 4444 from any district phone so we can assist you over the phone, or by opening a Help Desk Ticket using the Instructions here.